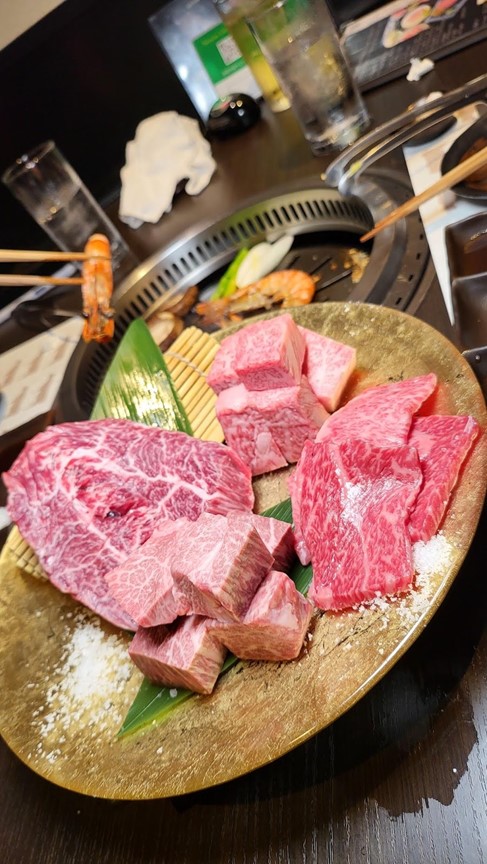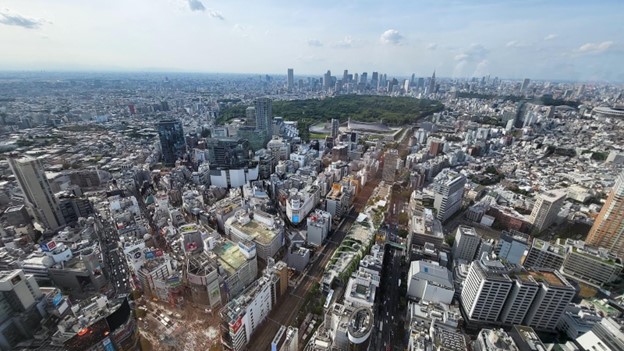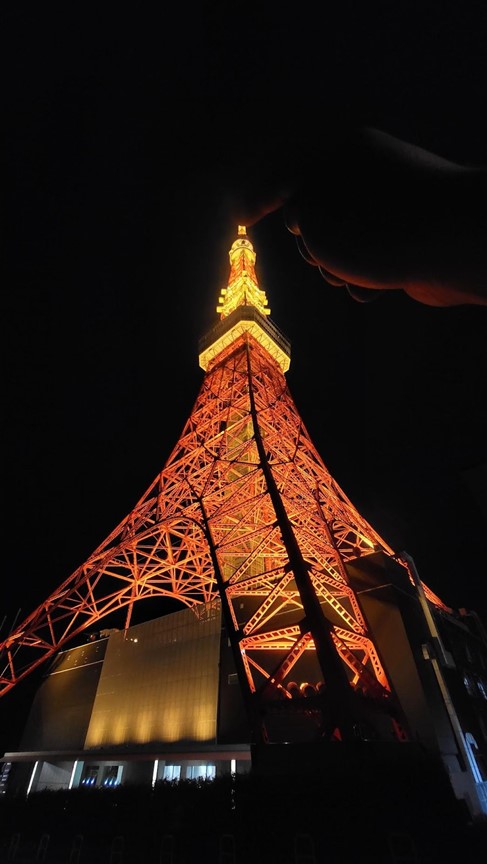
Admit it. You or even your crew have conjured up the magical, but daunting idea: “Let’s all go to Japan!” You laugh about it, ponder the thought, and then forget about it only to realize that life is short, and the Japanese Yen is historically cheap as of 2024.
I am no stranger to traveling. I just happen to be a high school geography teacher who desires to travel abroad as much as I can. I have been to numerous continents, and many different countries, but Japan just seemed so daunting. As an American, I know the U.S. dollar is very powerful in many places, but not Japan. Even with a teacher’s salary, traveling abroad wasn’t too intimidating until recently. With the covid pandemic crippling the Japanese economy, the once strong Japanese Yen has plummeted. This summer, 1 USD equaled 156 JPY where it used to be in the low 100s. That said, I knew it was time to pull the trigger.
The combo of my teacher vacation, my wife’s flexible nursing schedule, and not having kids made planning for two to go to Japan wasn’t too bad. Let me walk you through our process.
First up is the obvious. Set your vacation days. This includes the day you fly out and the day you fly back. Japan is 14 hours ahead of Texas, so it will be a long flight. Finding flights to maximize your days is pretty straight forward having George Bush International Airport (IAH) in Houston. We flew to Canada via WestJet which connected to Narita airport in Tokyo, Japan. We chose a budget flight because summer flights are naturally expensive regardless of destination and we wanted to minimize baggage fees going to and fro (more on that later). If you have points, use them! You never know how much those points may bring down your cost, let alone the possibility of having a free flight waiting for you all along!
Next is the fun part – the attractions. I recommend having two categories: Food and Sites, then find your top five choices for each. If you plan on visiting multiple cities, then have your top choices for each of those as well. Here is where Google and social media become your frenemies. You can easily become overwhelmed with the cool sites, tasty dishes, and maybe things from your favorite anime. And that is OK. The more you write down or bookmark, the more you can trim down your itinerary. Once you have your picks, map them out! I used Google Maps and pinned all my chosen places to look at the logistics of travel between each. Many places in Japan require reservations, some of which are a month or so in advance, so go to the websites of your desired destinations to ensure the requirements and hours of each. With all that pinned, let’s talk traveling.

Japan is a very densely populated place depending on where you go. We stayed in three of the most popular and populous cities: Tokyo, Osaka, and Kyoto. You can take the easy route and simply Uber everywhere (their Taxis are connected to Uber), which is fairly cheap compared to the US. Or you can immerse yourself with locals and use the trains and subways. Here, I recommend you get a Suica Card, a train pass. You load it and pay for your route as you travel about the numerous train stations. This is where Google Maps comes in handy. Maps does a wonderful job of navigating you to your destination, even telling you which specific train route to take as well as the times of arrival and departure. Once you are on a train, be aware that silence is golden in Japan. People ride in silence, headphones in. If you are expecting New York level conversation, forget about it. As you plan, it is suggested that you time each of your attractions an hour or so apart to take in consideration walking, paying, perhaps getting lost here and there, and waiting for transportation.
With your tickets booked, spreadsheet filled, and reservations made, it is time for the hardest part. What do I even bring? Let’s start with the basics of bags. There are so many goodies that it is near damn impossible to decide, let alone pack a bit of everything. So, what is the best way to fit in everything? If you are familiar with the Russian Matryoshka doll, this is essentially the basis of your packing plan. We each packed a smaller sized case into a larger one, thus we checked in two bags as we entered Japan, then filled each case as we went along. My wife packed as many snacks, stationary, and all things cute as she could. I stocked up on rare Japanese whiskey, anime themed souvenirs, and clothes that I aren’t available in the U.S. Our two checked bags each became four by the end of our journey. We ultimately purchased an extra bag because we just bought way more than we expected. The downside? You have to carry your luggage with you as you migrate to different cities. Yes, there are luggage services that you can book either online or from your hotel, but we had too many valuables that we just hauled everything manually.

Finally, dress according to the season. We went in June, so it was hot, humid, and rainy. If you go when it’s cold, be prepared to bundle up. Despite the conservative culture of Japan, I did manage to wear shorts without any weird stares. Most of my bottoms consisted of shorts and 1 pair of pants. Tops-wise, I highly recommend breathable fabrics such as dry-fit because you will get sweaty. My wife wore long sundresses and made sure to something with coverage on top. Because it was the rainy season, an umbrella is a must, but ponchos are pretty common too. For your precious feet, walking shoes are best. Don’t worry about trying to be cute with your footwear, because it will get dirty. Other essentials are sunglasses, power banks, chapstick, and undergarments. Shockingly, Japan does not favor perfumes and colognes, so it is best to just apply a neutral deodorant. Strong fragrances are frowned upon! We packed our typical toiletry/dental/medical bag, but depending on where you stay, many accommodate those for you which is really nice.
To recap: book your flight, do your homework, pack your clothes and luggage into another luggage, and just go enjoy the treasures Japan had to offer.


